
Knowledge Base
Connection filtering in Office 365
- Log in to the control panel of Microsoft Office 365 using the following URL: portal.office.com
- Go to Admin Panel.
- In the Security & Compliance Center, go to Threat Management>>Policy>>Anti-Spam.
- On the Anti-spam settings page, expand Connection filter policy by clicking, and then click Edit policy.

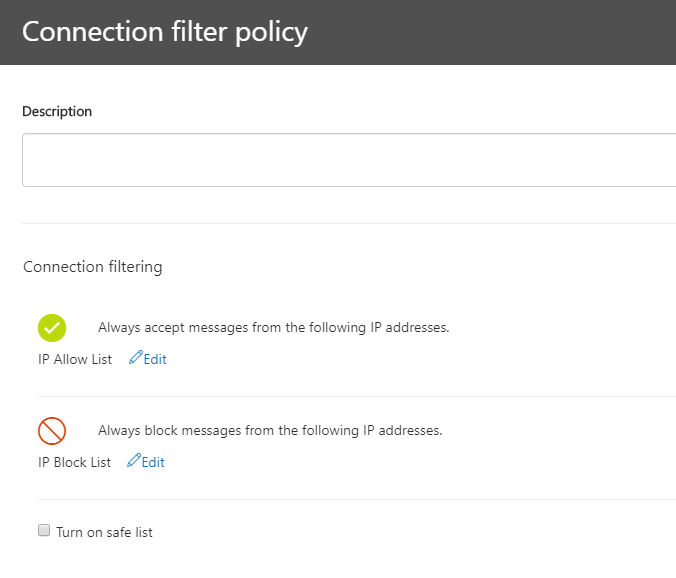
Note: The IP Allow List, safe list, and the IP Block List are one part of your overall strategy to allow or block email in your organization
- Description: Enter optional descriptive text.
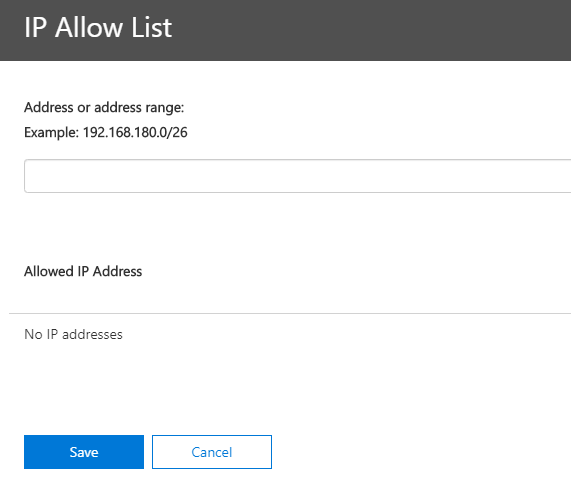
- IP Allow List: Click Edit. In the IP Allow List flyout that appears, enter an IPV4 address in the Address or address range box using the following syntax:
- Single IP: For example, 192.168.1.1.
- IP range: For example, 192.168.0.1-192.168.0.254.
To add the IP address or address range, click Add. To remove an entry, select the entry in Allowed IP Address and then click Remove. When you’re finished, click Save.
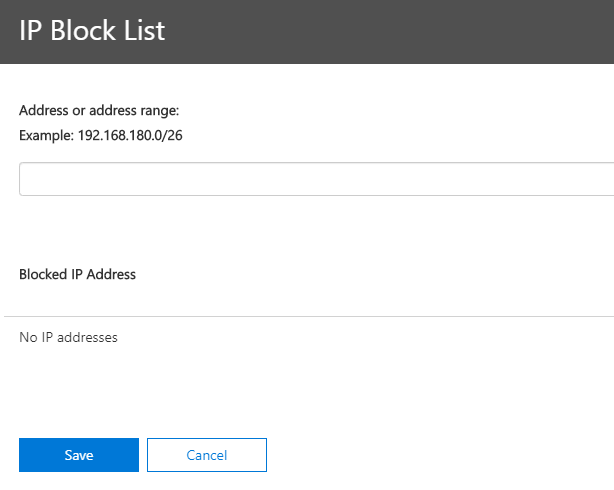
- IP Block List: Click Edit. In the IP Block List flyout that appears, enter a single IP, IP range, or CIDR IP in the Address or address range box as previously described in the IP Allow List setting.
To add the IP address or address range, click Add. To remove an entry, select the entry in Blocked IP Address and then click Remove. When you’re finished, click Save.
- Turn on safe list: Enable or disable the use of the safe list to identify known, good senders that will skip spam filtering.
5. When you’re finished, click Save.